A while ago, my Dad bought a really large aquarium. He wanted to use it to display the Symphysodon fish.
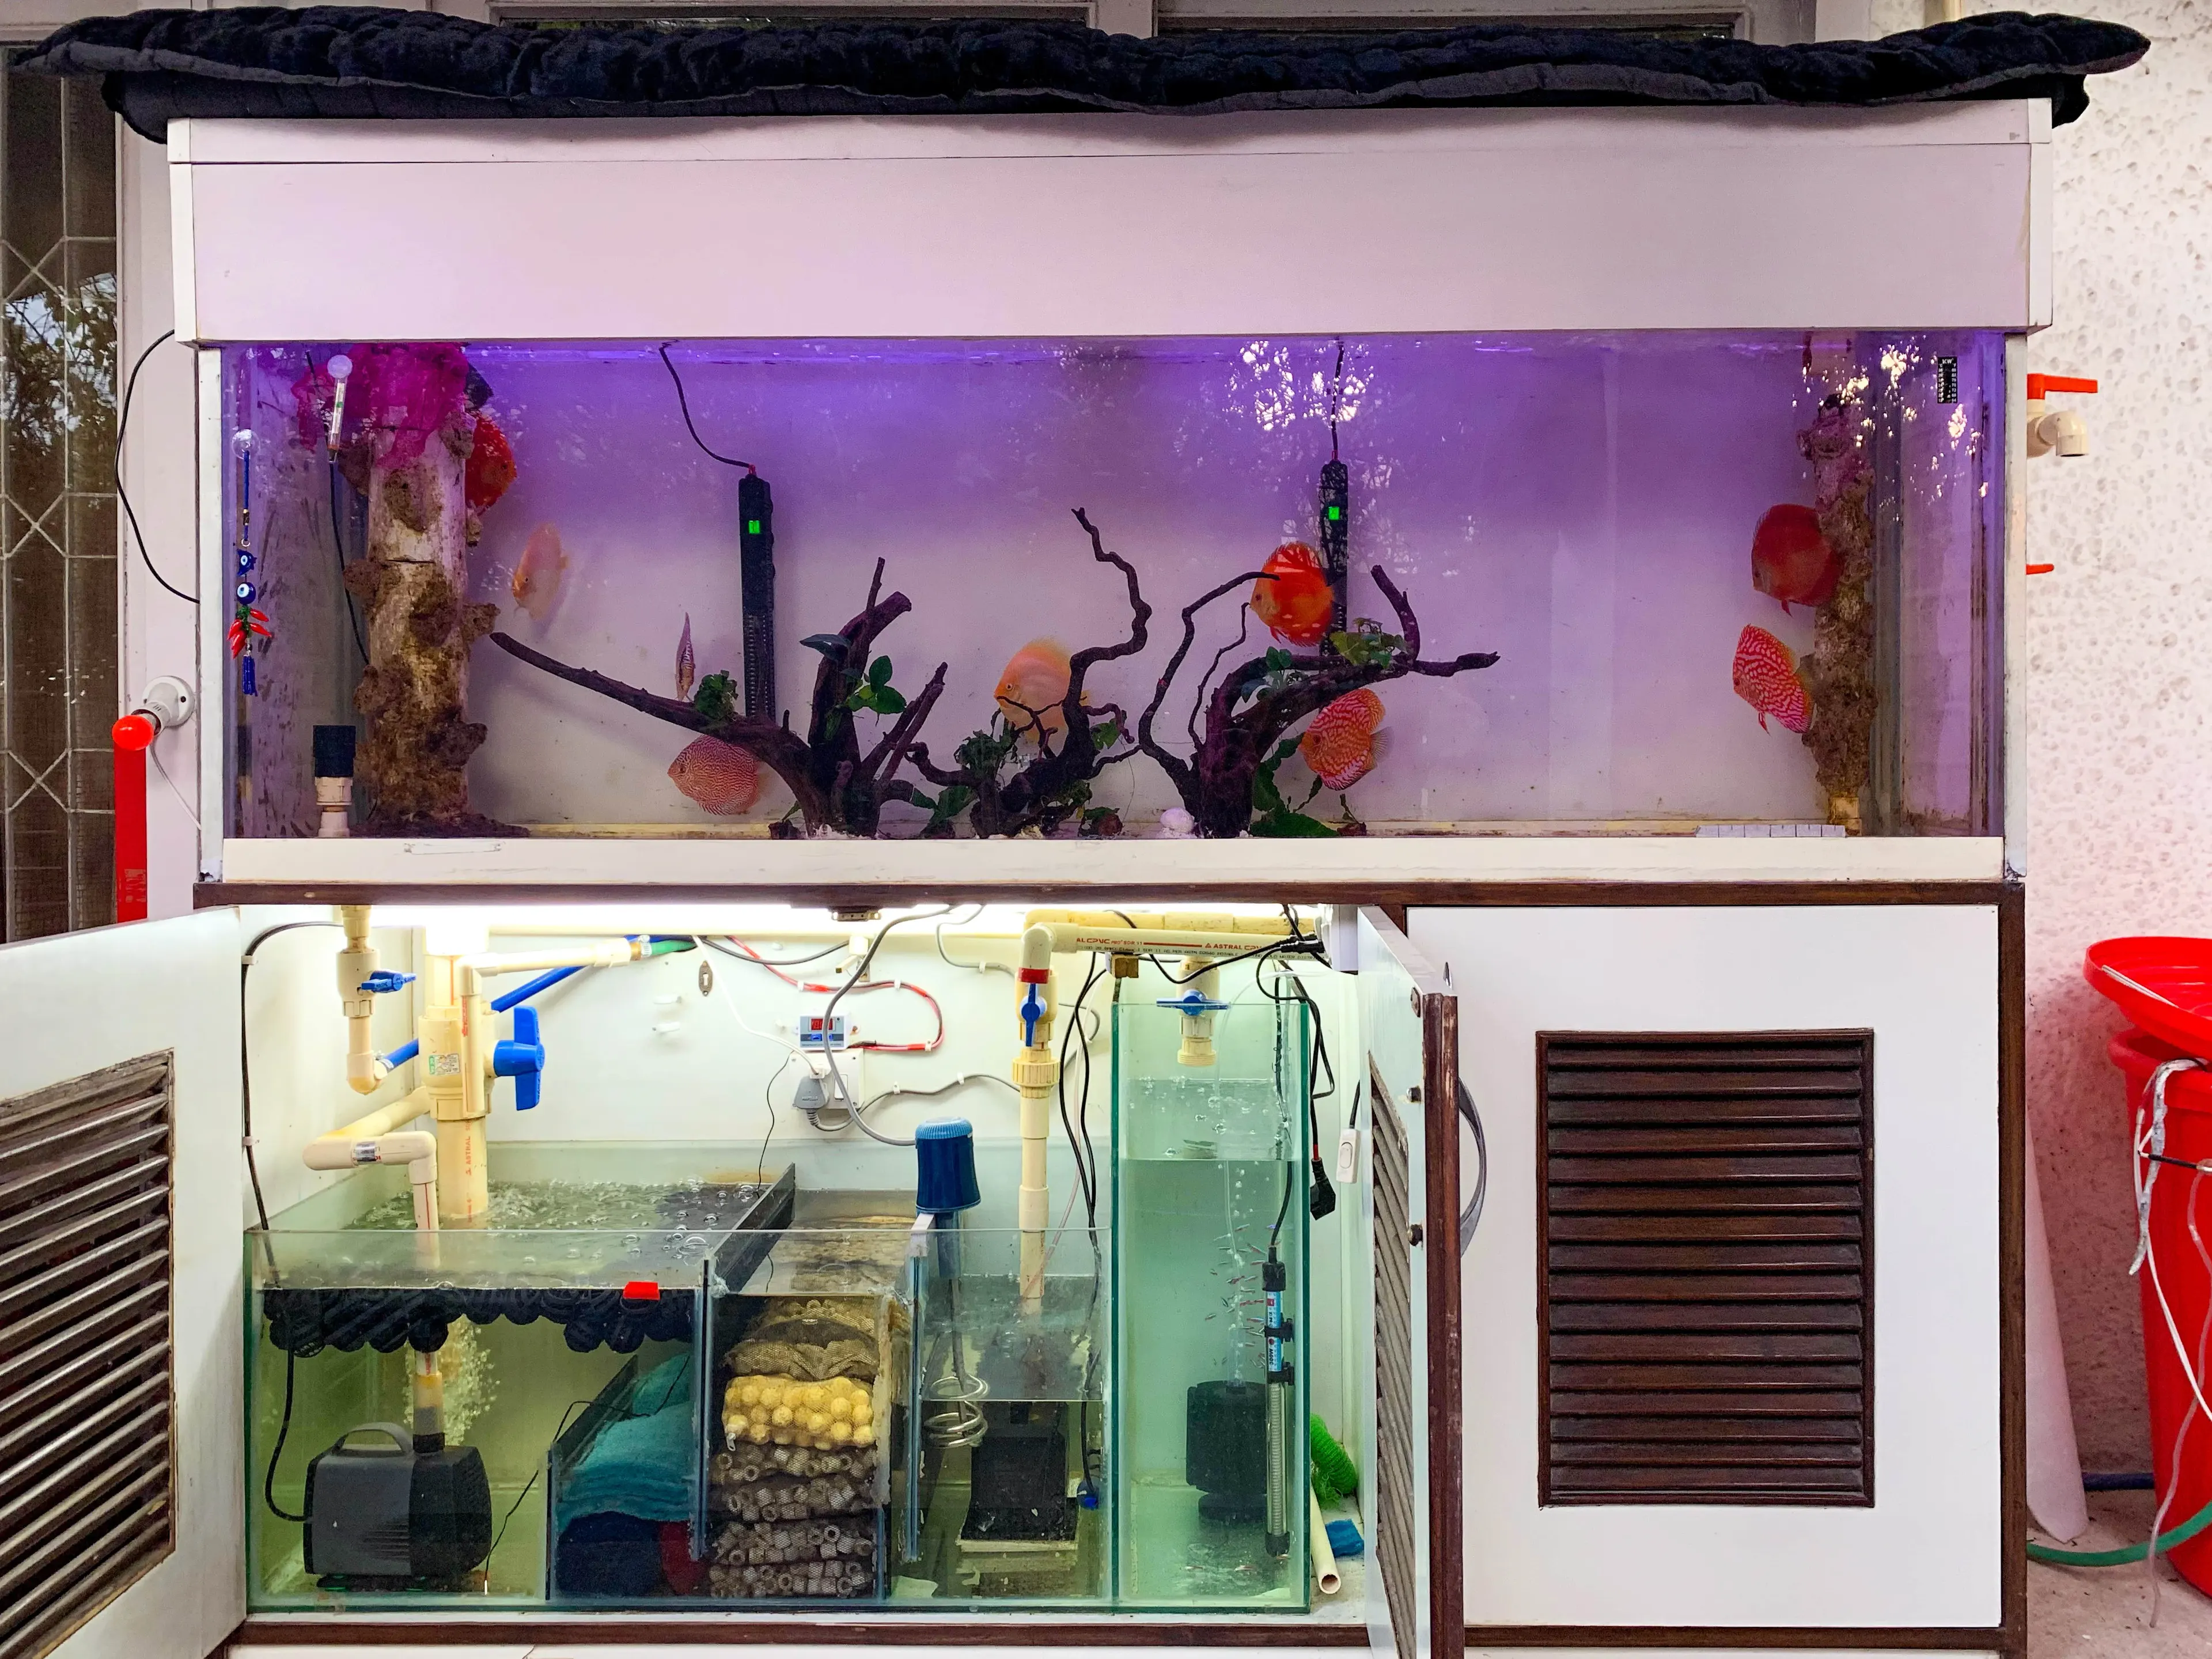
It was a functional setup, where my Dad connected a few heaters and pumps to get the water up to the ideal temperature of 30C for the fishes. However, if he wanted to check up on it while he wasn’t home, he had to call someone at home to check what the LED displays read.
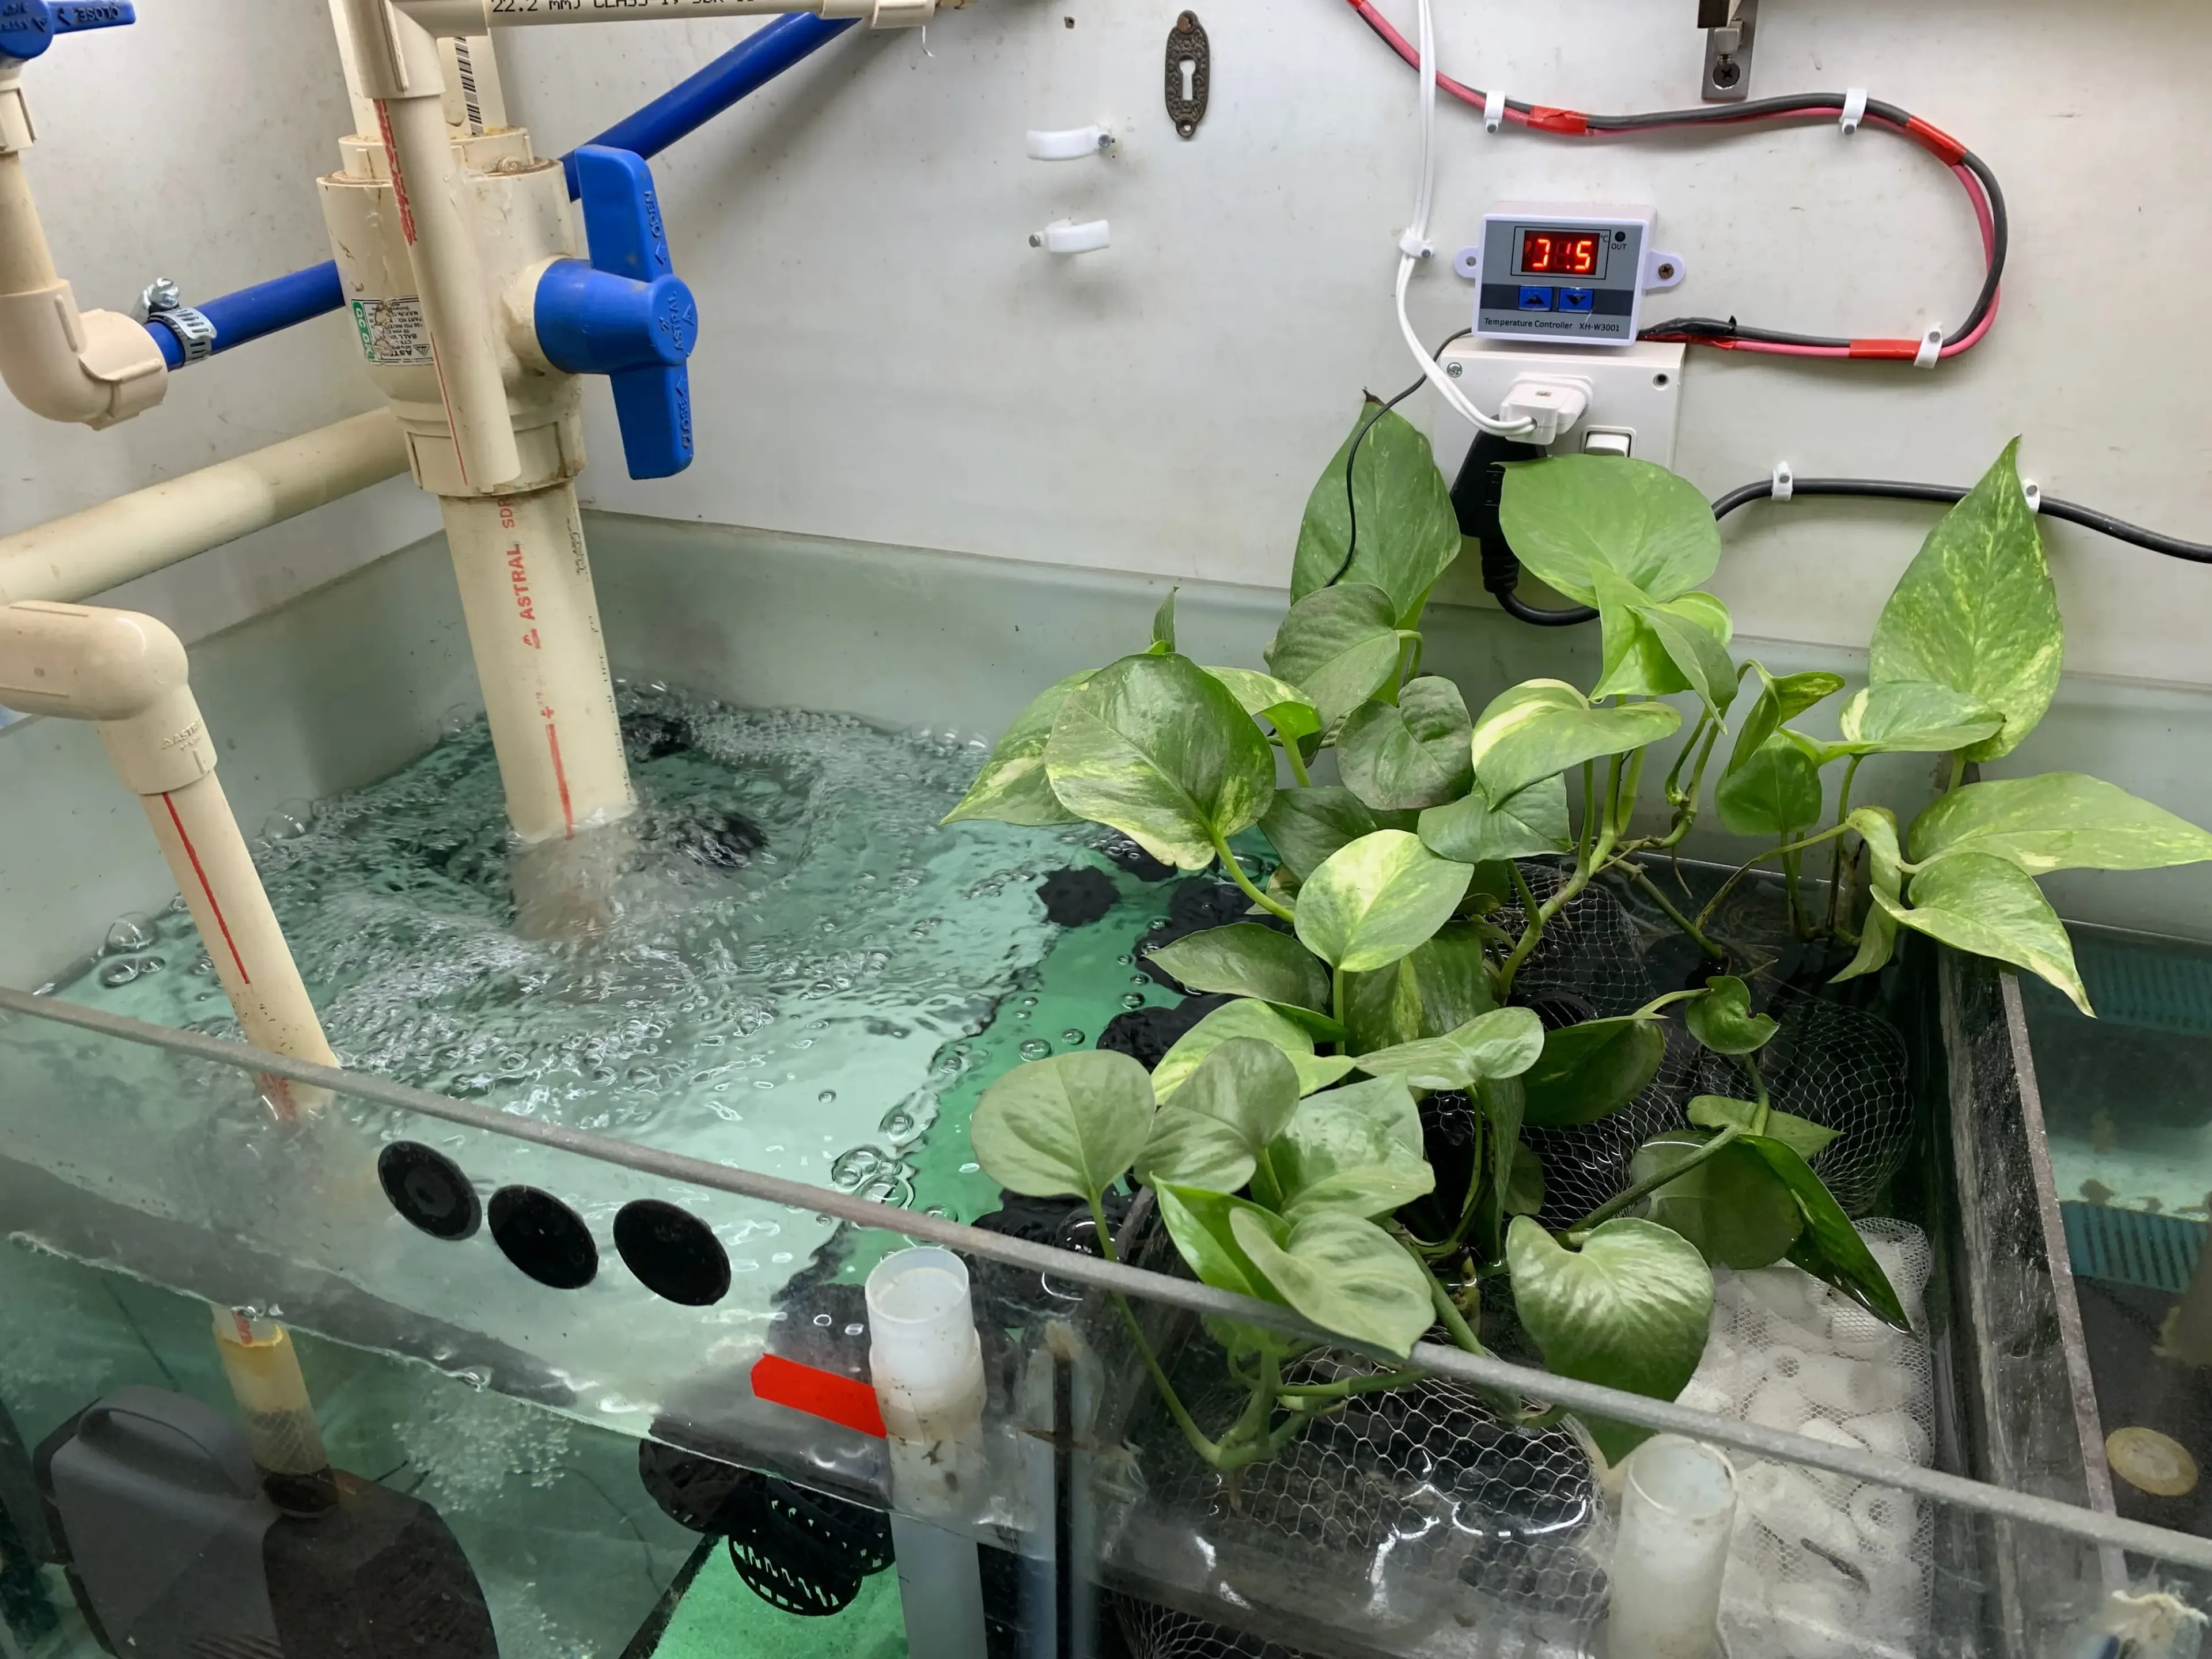
And with Delhi’s winters, if a heater malfunctions the fishes could become sick, or worse, die.
I had an old Raspberry Pi lying around which I only ever used to run PiHole, long ago. And thus, the Piquarium project was born.
Equipment
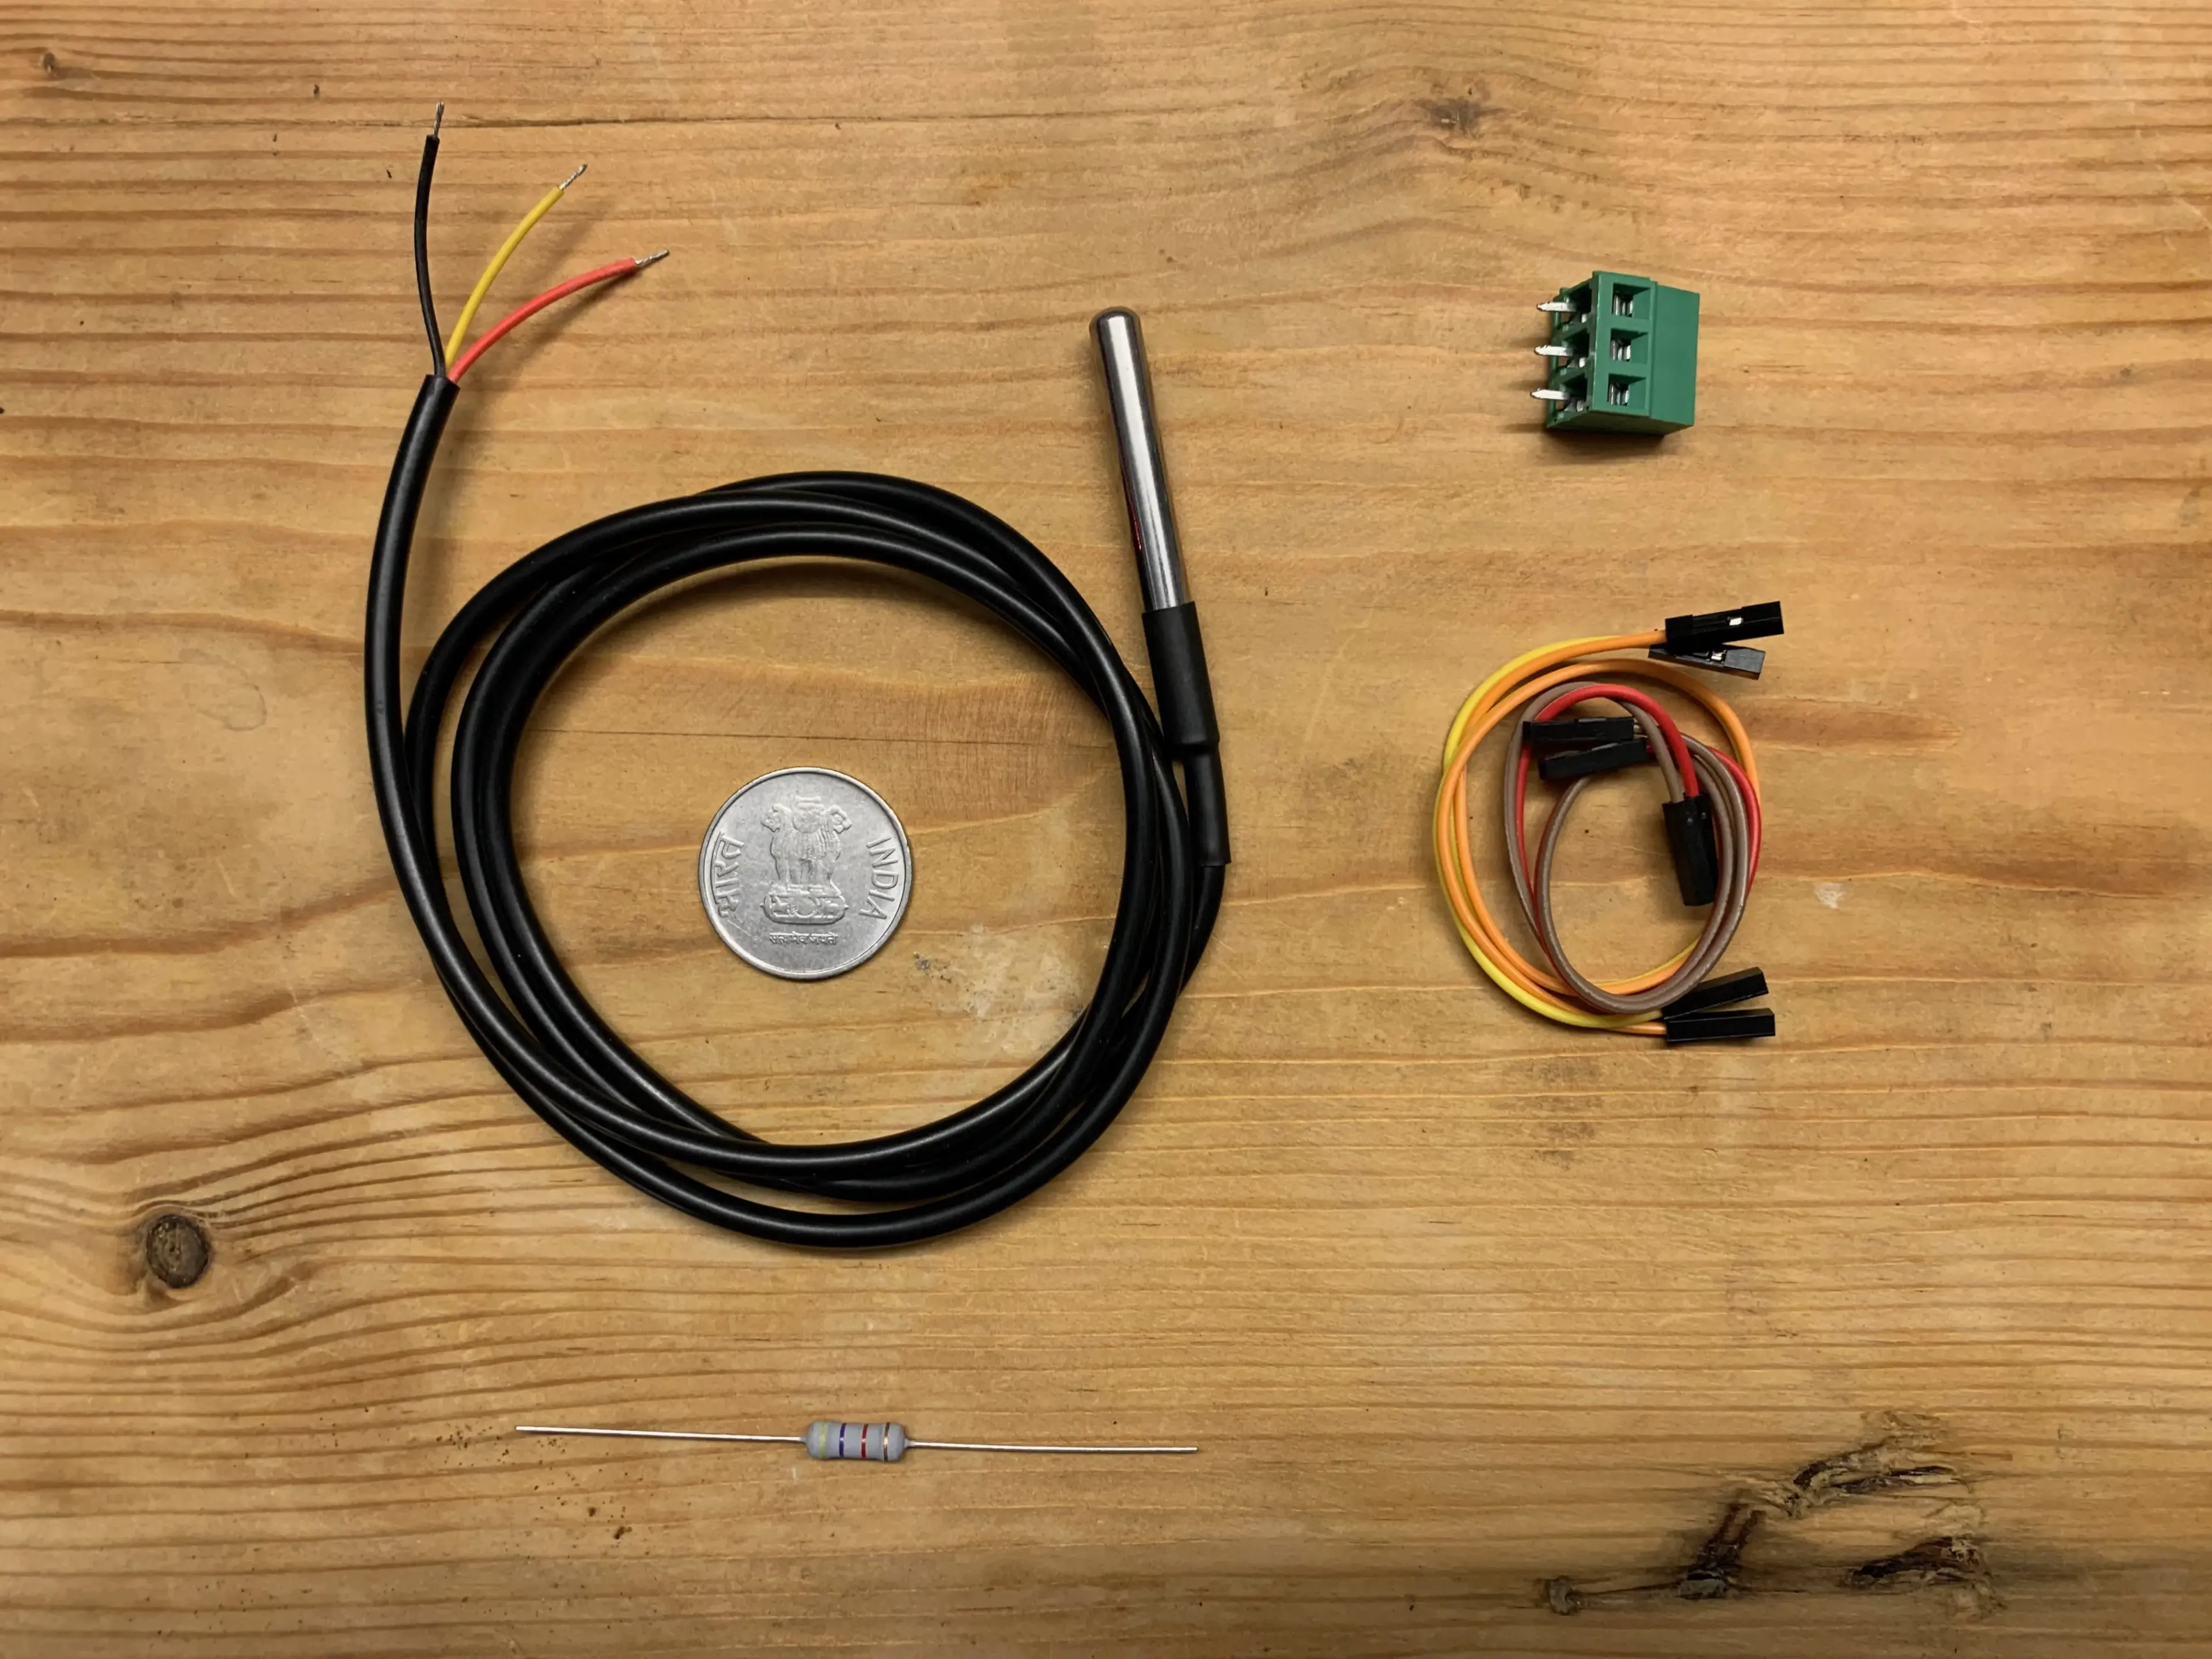
A DS18B20 probe, a couple of Dupont connectors and a 4.7KΩ resistor
- 2x DS18B20 Temperature probes
- 2x 4.7KΩ resistors
- 1x Raspberry Pi B+

I wanted the entire setup to be as tiny as possible, but almost every single guide for using a DS18B20 involved the use of a breadboard. I probably could have made it work but instead I decided to make that my last resort.
It seemed like the Raspberry Pi 3B+ supports having an internal Pull-Up Resistor. This post by Robert Elder and the fantastic accompanying video confirmed my findings AND proved that couple of DS18B20 probes without an external resistor could work just fine.
Setup
Rather than using a soldering iron to connect the wires from the probe, I went the unnecessarily complicated route of using a Dupont connector.
And then simply connecting the Dupont connectors to their GPIO pins:

Finally, to enable the pull-up resistor on GPIO pin 04, I use this Python script:
import RPi.GPIO as GPIO

GPIO_PIN_NUMBER=4
GPIO.setmode(GPIO.BCM)
GPIO.setup(GPIO_PIN_NUMBER, GPIO.IN, pull_up_down=GPIO.PUD_UP)
To make sure it persists through restarts, I added the script as a systemd unit.
Now to actually read the values from the temperature probes:
import  glob

base_dir = '/sys/bus/w1/devices/'
device_folder = glob.glob(base_dir + '28*')
device_file = '/w1_slave'

def  read_temp_raw(device_file):
    f = open(device_file, 'r')
    lines = f.readlines()
    f.close()
    return  lines

def  read_temp():
    result = []
    for  folder  in  device_folder:
        lines = read_temp_raw(folder + device_file)
        value = lines[1].split()[-1].split("=")[1]

        value = int(value)
    result.append((folder.split('/')[-1], value))

    return  result
All readings from the sensors will be stored in the /sys/bus/w1/devices directory with each sensor having a name similar to 28-19a09fbc2 with the w1_slave file holding the values we need.
I had two sensors connected, I planned to use one for the primary tank and one for the ambient temperature.
Delivering the Data
Now that I was able to read values from the sensors, I moved on to storing it and actually making it available for processing/consumption.
The day I was looking for a solution is also when PlanetScale (a serverless database platform) entered general availability. On a whim, I decided to use their free-tier to store my temperature readings every minute from the Raspberry Pi.
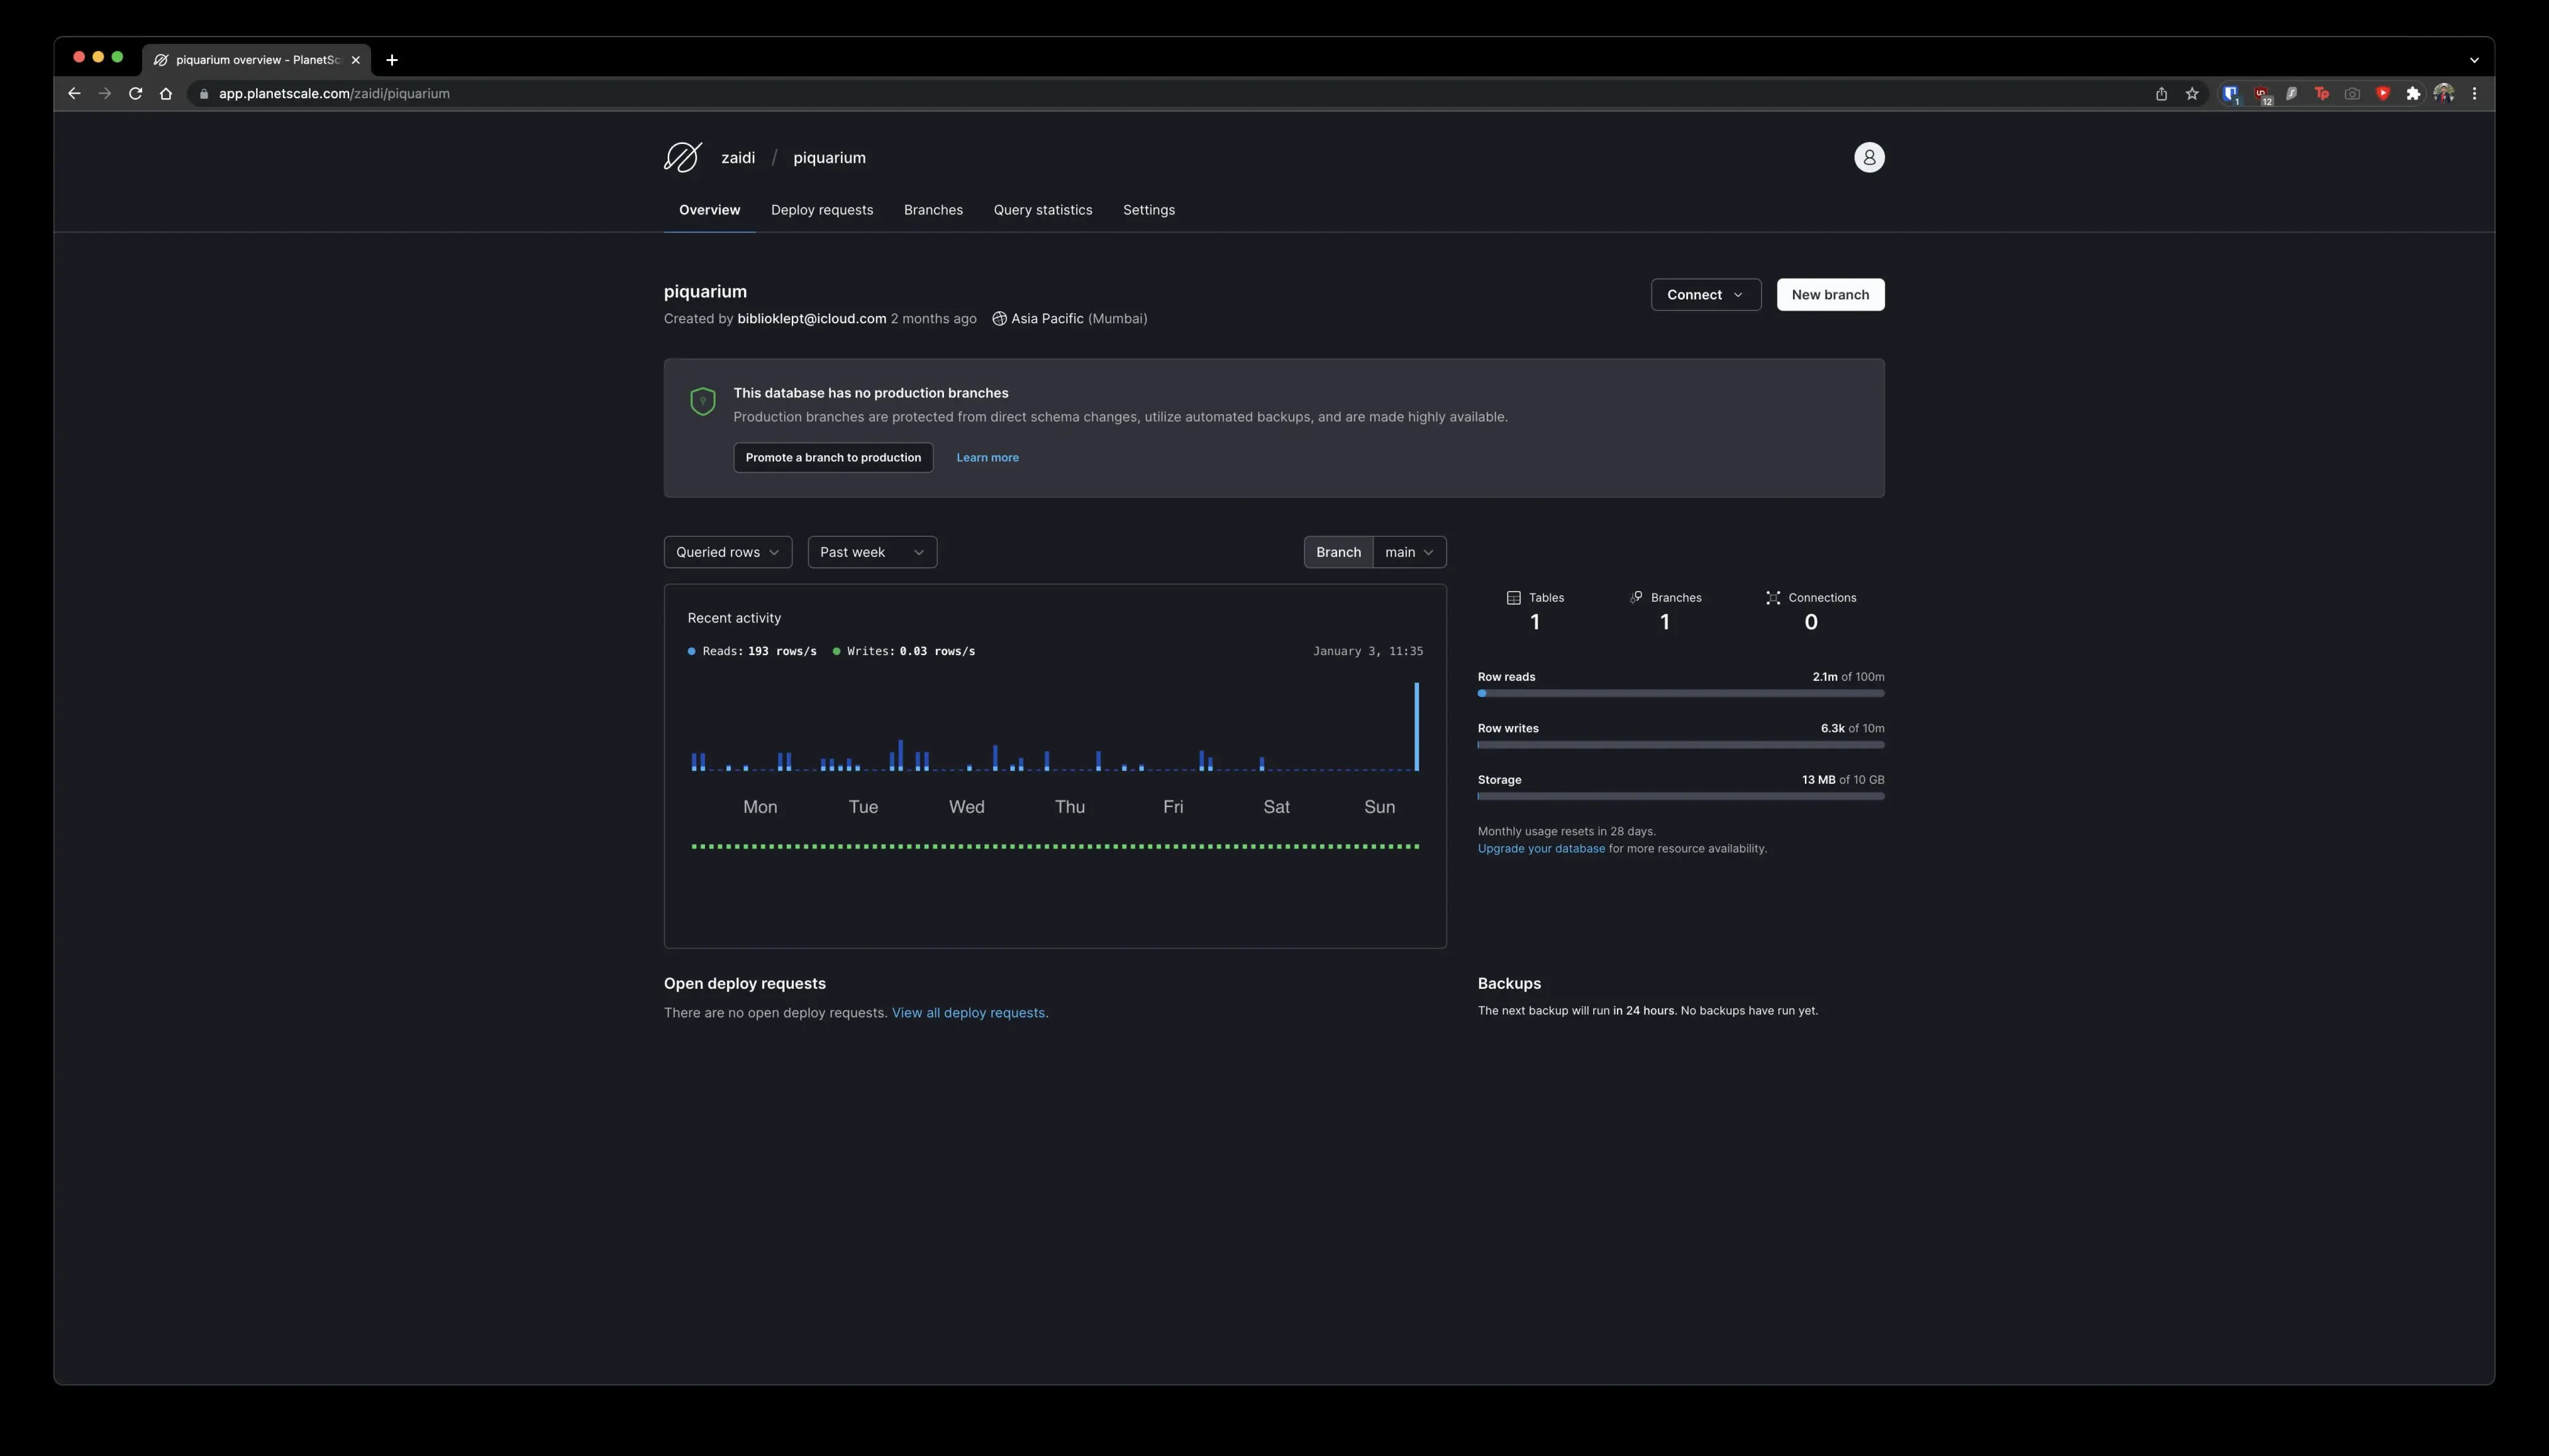
For making the data available, I created a simple Telegram bot which queries the PlanetScale MySQL database. It would’ve been cleaner to have a dynamically updating website but I’m not very proficient with generating charts on the fly on the front-end. I did look into using Observable as well, but it seems I cannot embed their charts when connected to an external database.
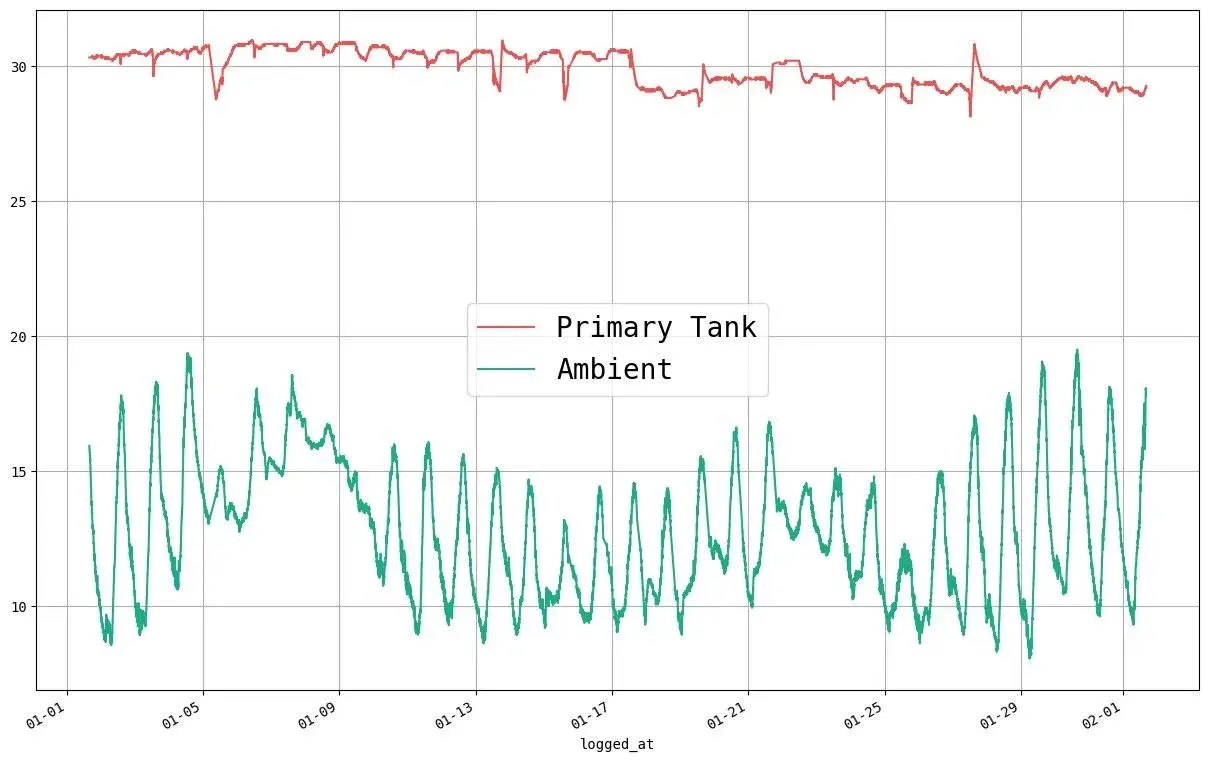
And the bot:

Wishlist
- Add temperature alerts whenever it deviates from the weekly average
- More interesting statistics
- Measure pH level of the water in the tank (I’m unable to find much on this topic, yet)
- Add a camera feed
- Automatically turn the heaters on and off