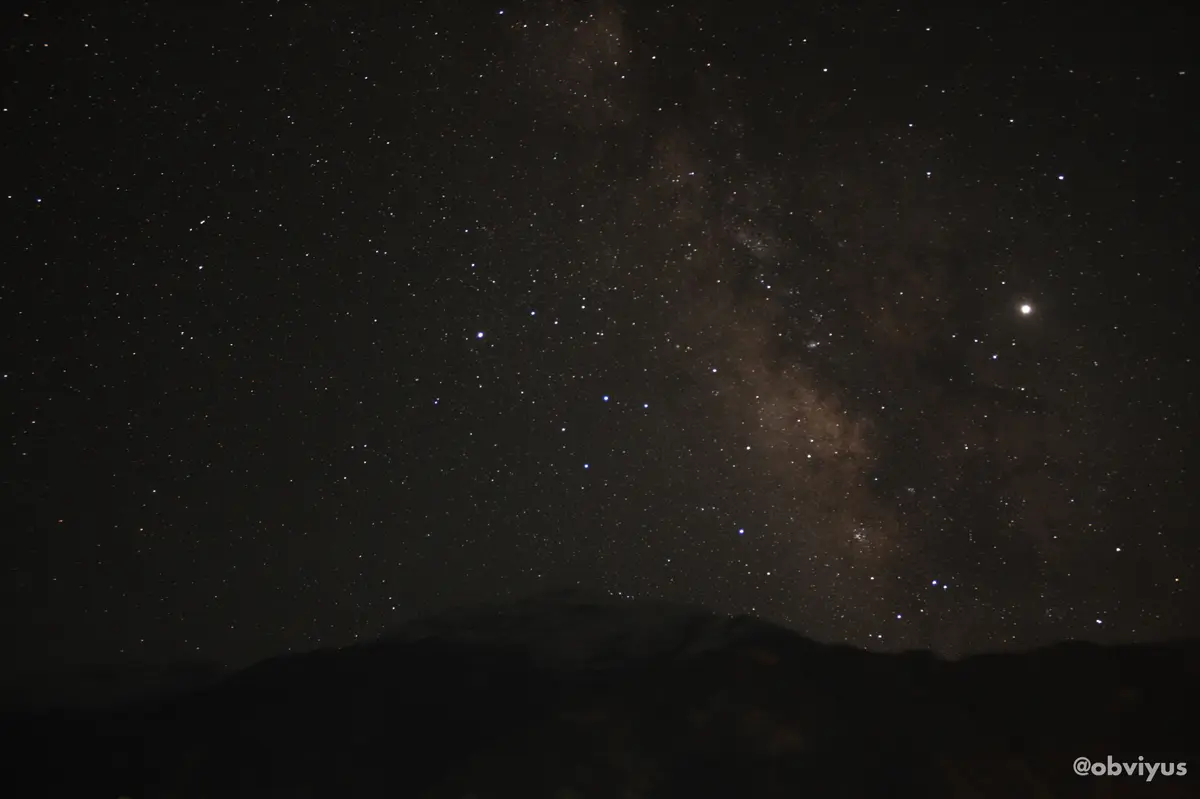
This stack of images was shot on the 4th of June. I used a Canon 600D and a 18mm lens with ISO 3200, Aperture f/3.5 and an exposure of 18s.
Location
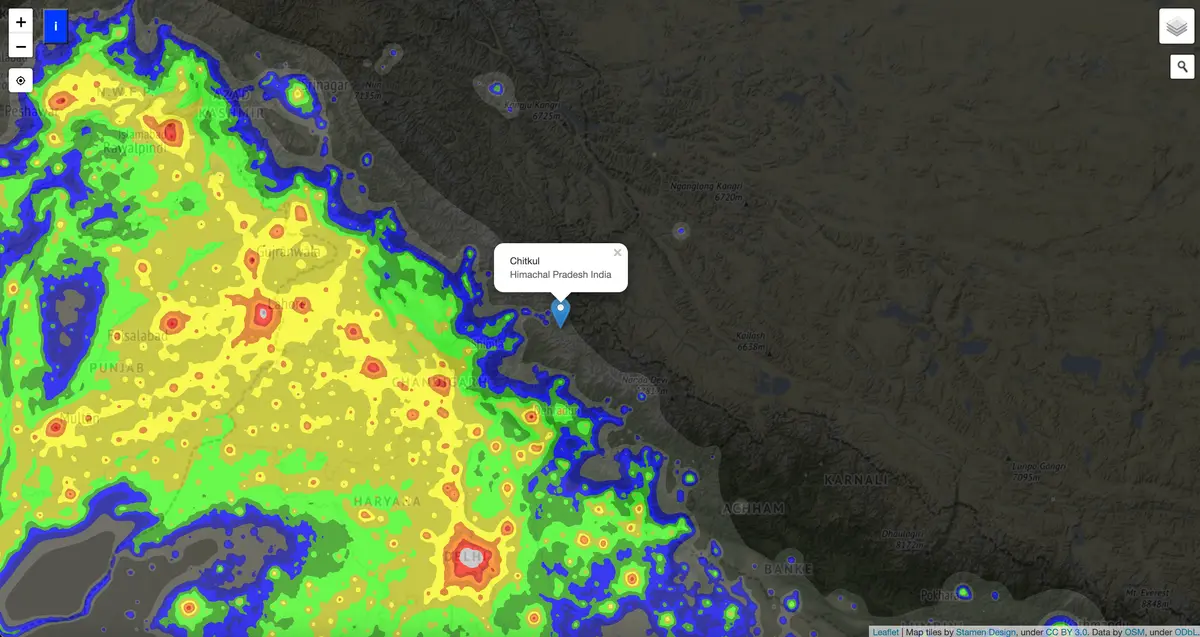
The image above was shot at Sangla, a bit north of Shimla. I knew I needed to go somewhere with very little light pollution. DarkSiteFinder to the rescue.
The sky there was clear. I chose a spot close to our room with minimal light pollution and a view of the mountains during the day.
Setup
I used the Night Sky app to figure out where the milky way would be, although I didn’t really need it. The milky white of the galaxy was visible to the naked eye.
In any case, you need to look for the Sagittarius constellation and point your camera roughly in that direction.
Camera Settings
For this part all I can suggest is that you take a couple of test shots and adjust your settings as necessary. For the exposure, follow the 500 rule:
Divide 500 by your lens’ focal length.
For example in my case: 500 / 18 × 1.5 =18.518… seconds of exposure per image
This works really well for avoiding star trails. My camera did not have a full frame sensor so I had to multiply the focal length by \(1.5\).
Keep your ISO as low as you can, while keeping the stars visible in the final image. Obviyusly you click these shots with a tripod. Be sure to not move it at all while clicking the images.
Stacking Images
Each image was well exposed and you could see the milky way pretty clearly so I ended up taking about 15 images in total. It is of utmost importance that you do not move the camera at all during these.
I also captured 5 dark frames for the final stacking process.
Once home I used DeepSkyStacker to select light frames, dark frames and then just used the recommended settings to get the final stacked image. There’s a few more stacking programs you could use like Sequator or even plain old Photoshop so use whatever you’re comfortable with.
The stacked image will be a .TIF file. It’s rather large (350MB in my case) with a combined exposure of 7 minutes. This long exposure is why the mountain in the foreground looks shaky.
Now fire up Photoshop to make some luminescence and color changes. I think this depends on your personal taste. Add adjustment layers as you like.
Result
Here’s a few more pictures I clicked:
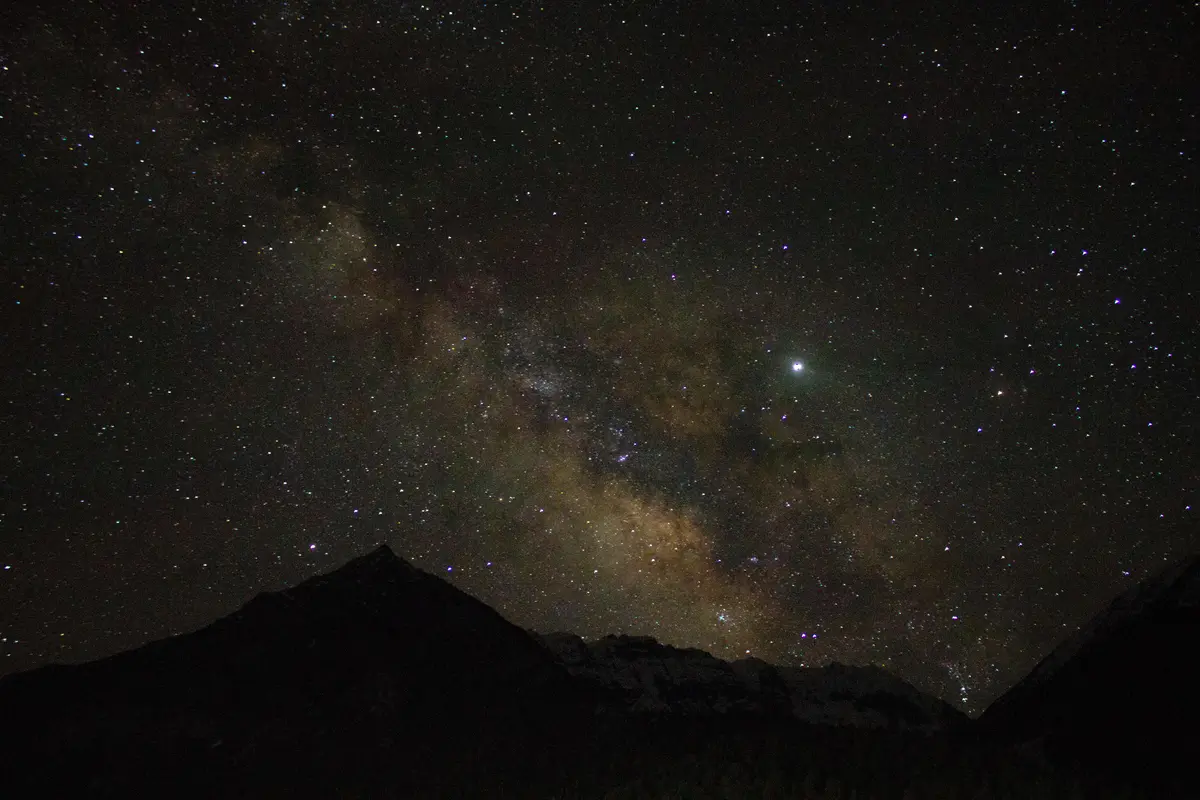
This image is far more noisy because no stacking involved here.
I set the image interval too long, rendering those images “un-stackable”. So I made a short timelapse of them instead.
I hope you enjoyed this read as much as I enjoyed clicking these.